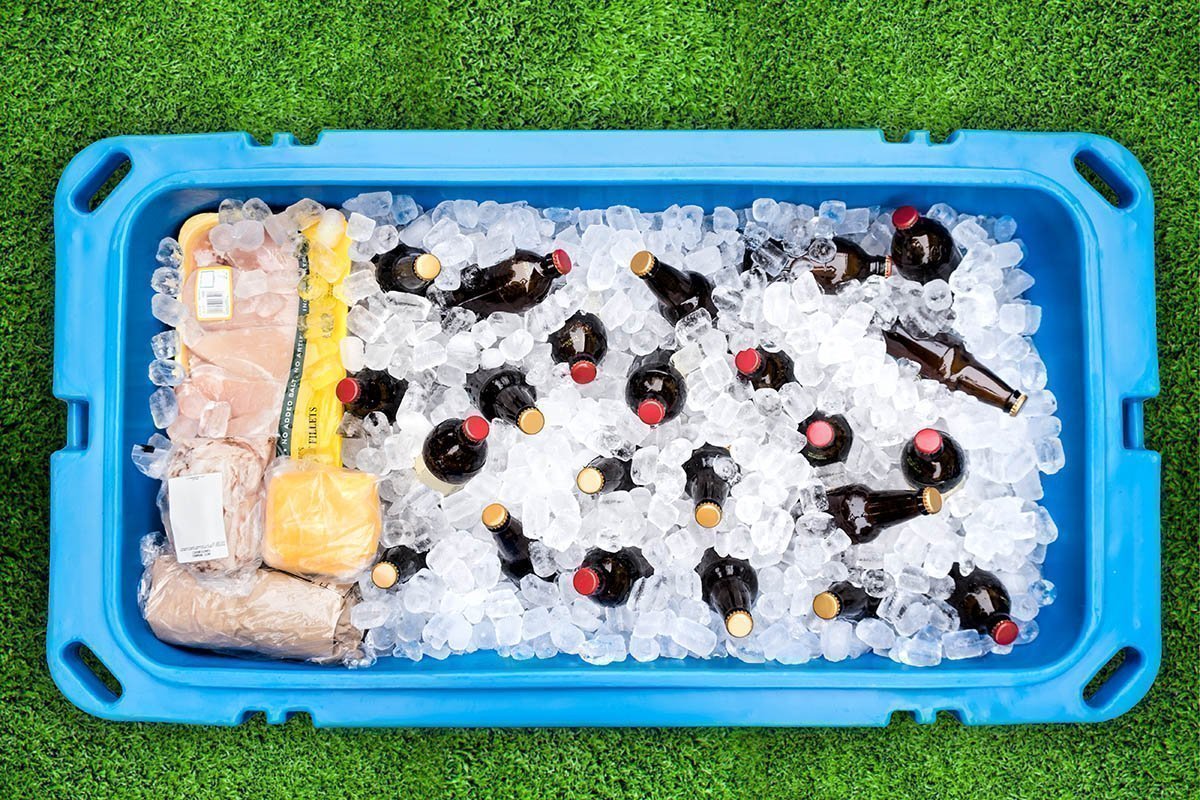
The easiest way to keep the chill in your ice chest is to get a high quality ice chest. Generally something insulated, dry ice compatible, with a hard top lid that seals with a rubber lining. But that can also get expensive, and while there’s no substitute for high quality camping gear, there’s also a lot to be said for getting the most out of the gear you already have. So here are a few low cost tricks to keep your food safe, and your drinks cold for your picnic or week-long camping trip.
Pre-chill Everything
The night before your trip, put everything in the freezer or refrigerator that you plan on keeping in the ice chest. Freeze the meats and liquids so they can act as secondary ice packs, and if you’re putting snacks in there like chocolate or trail mix, you should at least refrigerate it.
Use Ice Blocks
A whole ice block takes a lot longer to melt than crushed or even cubed ice. It won’t be as cold as crushed ice, but the drinks will still be cold and it will keep the meat at safe temperatures. If you really need it super cold, refer to the dry ice or the salt tips below.

[vc_row][vc_column][mk_button dimension=”two” corner_style=”rounded” size=”large” url=”https://www.amazon.com/gp/product/B0016LSRGG/ref=as_li_tl?ie=UTF8&tag=podoutdoor-20&camp=1789&creative=9325&linkCode=as2&creativeASIN=B0016LSRGG&linkId=2ac731c86b2ce32fc801e603d546dcd8″ target=”_blank” align=”left”]Check Price On Amazon[/mk_button][/vc_column][/vc_row]
Pack Your Cooler Right
You should pack things in the reverse order you intend to use them, meaning the last things should go int first. But if you don’t plan that far ahead, here’s a quick guide:
- Ice layer at the bottom.
- Meats/heavy dinner foods
- Snacks
- Drinks
- Top ice layer (because cold air sinks)
If you want to get really fancy, you can try lining the drinks all around the edges, because water works as a pretty decent insulator. Just make sure they’re still in quick access so you can minimize the time you have the lid open to grab them.
Dry Ice
Dry ice can’t be stored like normal ice. It cracks plastic and burns flesh, so it’s a tricky material to handle. A lot of coolers come with special compartments or flaps for dry ice. If you have that kind of set up, your cooler should have plenty of chill for up to a week, if not more. If you don’t have a dry ice compatible cooler, and have no intention of dropping the cash to get one, here are a couple things you can try.
If you have a plastic cooler you can create a compartment for dry use using styrofoam slabs or steel racks placed at the bottom of the cooler. Just make sure the dry ice doesn’t make direct contact with anything, because by virtue of being incredibly cold, it can very destructive. The meat might get frostbite, and aluminum cans will be too cold for direct contact, not to mention your hand. We can not stress enough what terrible things that await the skin that touches dry ice.
The other consideration with dry ice is that it will actually freeze things on its own. That’s great for storage, but not ideal if it’s freezing the water you want to drink. One thing suggested by Desert USA is to have a separate cooler of dry ice surrounded by normal ice packs so you can actually replenish the ice in your food cooler.
Salt as Needed
Salt is a temporary fix. It technically makes ice colder, but it also breaks it down, so the ice melts faster. It’s great for getting drinks cold fast, or squeezing a little more juice out of your cooler at the end of your trip. But it’s not going to save your meat or anything. It’s a good trick for your last day when most of the perishables have been used and all you want is that melting iceberg sludge at the bottom to make your beer cold enough to drink. Just toss some salt in, mix it around, and enjoy in about ten minutes.

